第 29 节 · UI 与交互模式:REPL / Solo / 流式输出
一句话回答
Agent 写得再好,没有趁手的"开口子"也没人用。 REPL 让人能交互,Solo 让机器能调用,流式输出和工具可视化让用户知道它没卡死。
三种交互模式
| 模式 | 一句话 | 典型代表 |
|---|---|---|
| REPL | 多轮交互,跟 Agent "聊一会儿" | Cursor 侧边栏、Claude Code 终端、CodeBuddy 对话 |
| Solo(一次性任务) | 给一个任务、跑完退出 | CI 脚本、claude --print、Cron / NPC 入口 |
| 流式输出 | 边生成边展示,不让用户干等 | ChatGPT、Cursor 主面板、终端 agent |
这不是三选一,是三件可以同时存在的事。一个完整的 Coding Agent 通常 REPL + Solo 都要支持,并且都应该让工具过程可见。
模式 ①:REPL(Read-Eval-Print Loop)
形态
$ python main.py
🤖 CodingAgent | workdir=. | tools=5

▶ 帮我看看 main.py 里有什么
[工具调用 read("main.py")]
main.py 里是一个简单的 Flask 应用,定义了 ...

▶ 给它加上 /health 路由
[工具调用 edit(...)]
✅ 已添加 /health 路由

▶ /quit
👋 再见核心循环
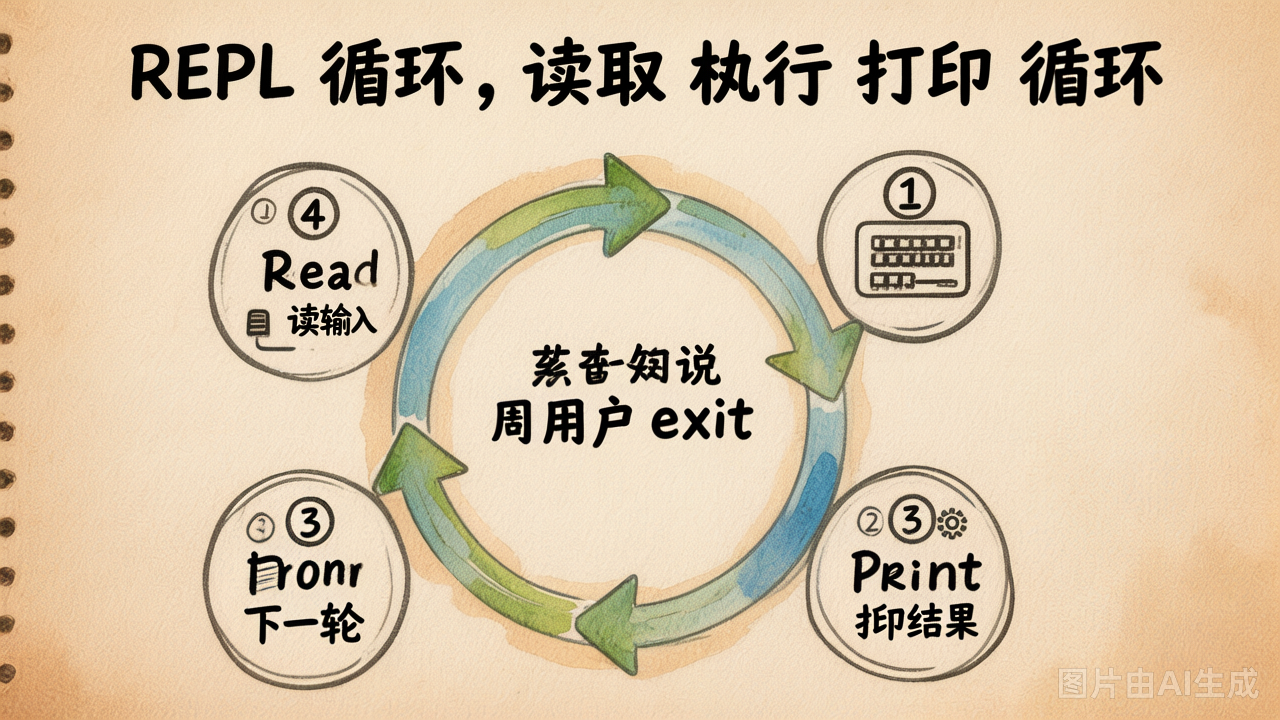
def run_repl(workdir):
    agent = CodingAgent(workdir=workdir)
    while True:
        try:
            user_input = input("▶ ").strip()
        except (EOFError, KeyboardInterrupt):
            break
        if not user_input:
            continue
        if user_input == "/quit":
            break
        if user_input == "/reset":
            agent.reset()
            continue

        answer = agent.chat(user_input)
print(answer)真正的 REPL 关注三件小事:
| 细节 | 为什么必要 |
|---|---|
| 捕获 Ctrl+C | 用户中断当前输入或当前任务时,不应该把整个进程杀掉 |
/reset 命令 | 长对话跑久了 messages 太长,给用户一个清空按钮 |
| 工具调用要打印出来 | 用户需要看见 Agent 正在做什么,不然像黑盒 |
参考实现:labs/06-coding-agent-integration/my_coding_agent/ui/repl.py。完整版还可以参考 examples/full-agent/main.py 的 _run_repl。
模式 ②:Solo(一次性任务)
形态
# 跑一次就退出
python main.py --solo exec "总结 README"

# 结果输出到文件
python main.py --solo exec "在 src/ 下找出所有 TODO" -o todos.txt

# 走管道(CI/CD 友好)
python main.py --solo exec "列出依赖" -o - | tee deps.txt为什么需要 Solo 模式
REPL 是"交互体验",Solo 是"自动化能力"。当你需要把 Agent 接进 CI / Cron / NPC / 调度脚本时,Solo 模式才是主战场:
- ⏰ 每天凌晨自动审 PR
- 🤖 CI 失败时让 Agent 看错误日志、写一份分析报告
- 📦 上线后让 Agent 给本次发布生成 changelog
- 🧑💼 仓库 NPC 被 @ 后自动跑一次任务并回写评论
REPL 在这些场景里不能用——没人坐在终端前回复 Agent 的提问。
实现要点
def run_solo(workdir, query, output_file=None):
    agent = CodingAgent(workdir=workdir)
    answer = agent.chat(query)

    if output_file == "-":
        sys.stdout.write(answer)              # 纯文本,方便管道
    elif output_file:
        with open(output_file, "w") as f:
            f.write(answer)
    else:
print(answer)关键设计:Solo 模式下,思考过程(工具调用、调试日志)走 stderr,最终结果走 stdout。这样用 >、| tee 或 CI 捕获输出时,不会被中间过程污染。
# 看到这种写法不要慌:把 ui.console 切到 stderr
if output_file == "-":
ui.console = Console(stderr=True)参考:examples/full-agent/main.py 的 _run_solo_exec。
模式 ③:流式输出
为什么必须做
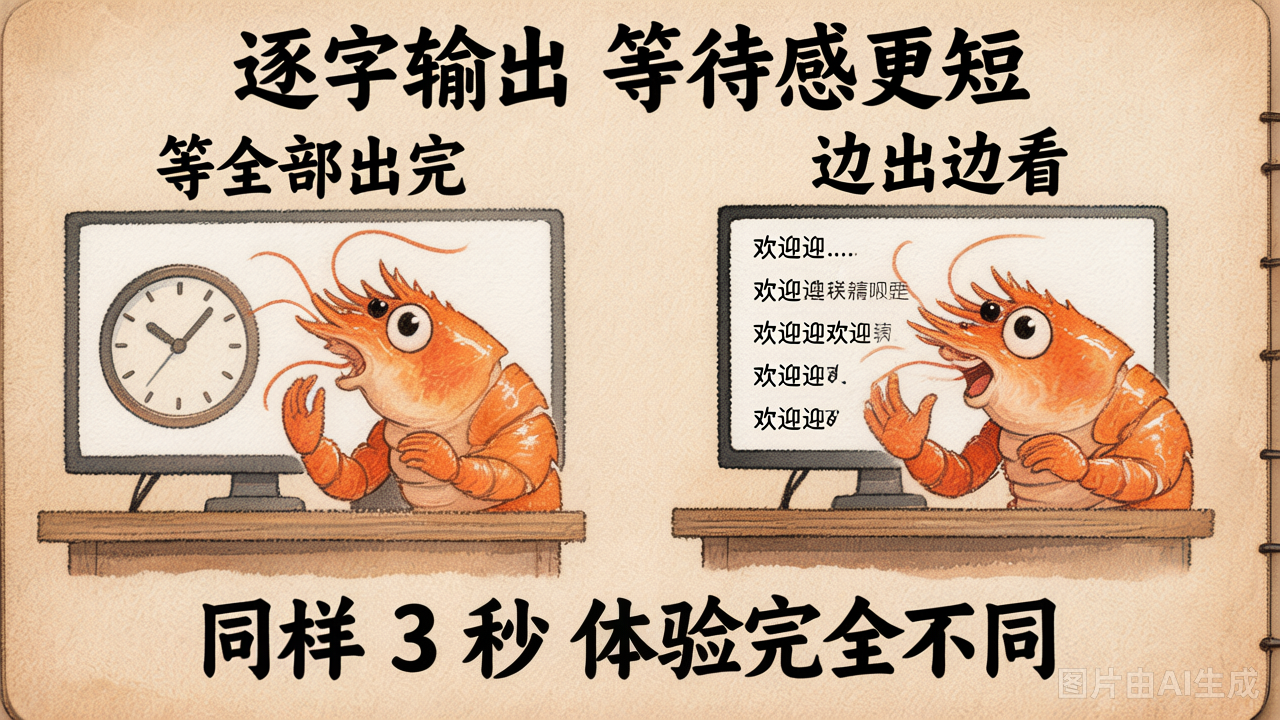
LLM 生成 1000 token 可能要几秒到十几秒。如果你等所有内容都生成完才一次性打印,用户会觉得:
"啊?是不是卡死了?"
而流式输出(一个字一个字吐)让用户能第一时间看到反应。即使总耗时一样,感受完全不同。
流式输出的 OpenAI 风格协议
# 非流式:一次性返回
resp = client.chat.completions.create(model="...", messages=...)
print(resp.choices[0].message.content)

# 流式:返回一个迭代器,每次 yield 一个 chunk
stream = client.chat.completions.create(model="...", messages=..., stream=True)
for chunk in stream:
    delta = chunk.choices[0].delta
    if delta.content:
print(delta.content, end="", flush=True)在 Chat Completions 风格接口里,stream=True 是最小开关。但真实客户端还要处理断线、取消、重试和工具调用分片。
流式 + 工具调用:一个坑
工具调用的流式数据是分片到达的——tool_call.function.arguments 可能在多个 chunk 里被切碎,必须自己拼回来:
tool_calls_buf = {}  # index -> 累积的 tool_call

for chunk in stream:
    delta = chunk.choices[0].delta
    if delta.content:
        print(delta.content, end="", flush=True)

    for tc_delta in (delta.tool_calls or []):
        idx = tc_delta.index
        if idx not in tool_calls_buf:
            tool_calls_buf[idx] = {"id": "", "name": "", "args": ""}
        if tc_delta.id:
            tool_calls_buf[idx]["id"] = tc_delta.id
        if tc_delta.function.name:
            tool_calls_buf[idx]["name"] = tc_delta.function.name
        if tc_delta.function.arguments:
tool_calls_buf[idx]["args"] += tc_delta.function.arguments这段代码看着繁琐,但 OpenAI 风格的工具流式调用经常就是这个模式。先跑通一次,以后忘了回来抄。
完整版的流式拼装逻辑:examples/full-agent/llm/llm.py 的 _collect_tool_stream / _iter_stream。
工具调用的"过程可视化"
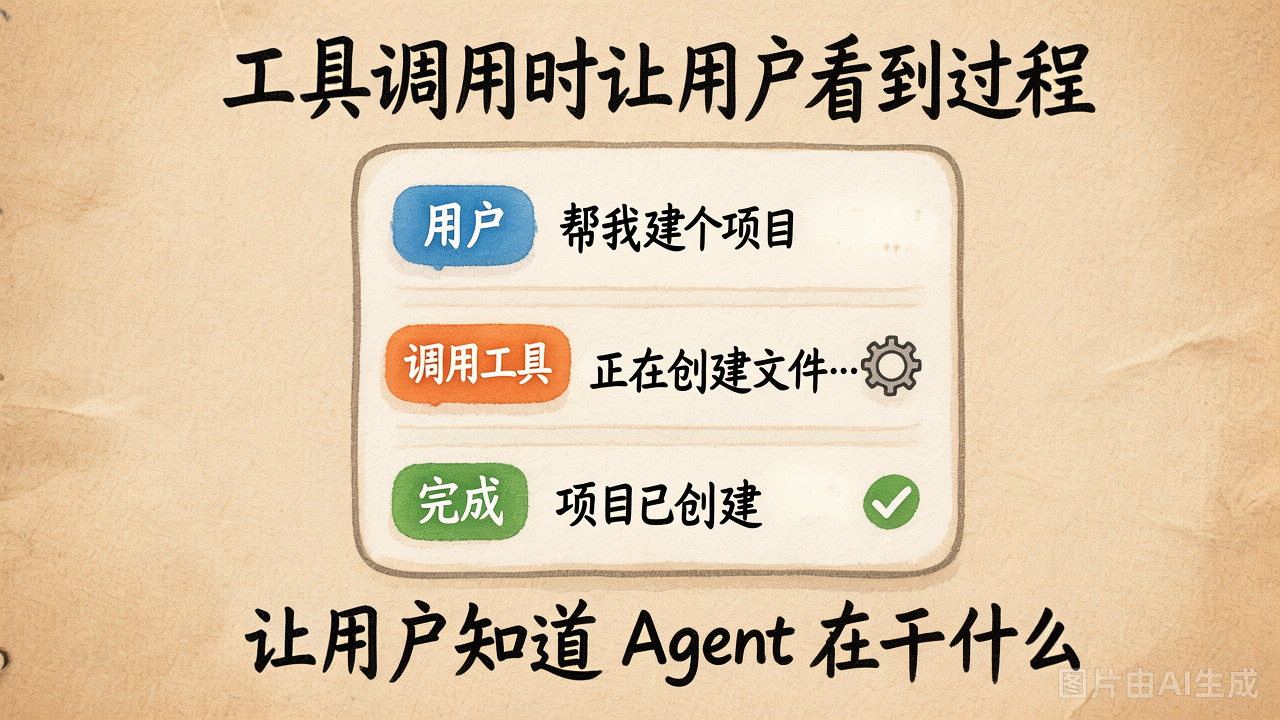
光流式吐文字还不够。Agent 调工具时,用户必须看到 Agent 在干嘛——不然就跟"卡死"一样:
▶ 帮我看 main.py 里有什么

💭 思考: 先读一下文件内容
⚡ read("main.py")
   → from flask import Flask
     app = Flask(__name__)
     @app.route("/")
     def index(): ...
     ...

main.py 里是一个简单的 Flask 应用,包含 ...3 个最简单的可视化技巧:
| 技巧 | 怎么做 |
|---|---|
| 工具调用前打印参数 | print(f"⚡ {name}({args})") |
| 工具结果打前 200 字 | print(f" → {result[:200]}") |
| 区分 thinking / 工具 / 回答 | 用 emoji(💭 / ⚡ / 🎯)或 Rich 颜色 |
进阶:用 rich 渲染面板,效果接近 IDE 里的工具调用面板。examples/full-agent/ui/ui.py 里有现成的 print_tool_call。
2026 年 CLI Agent 的 UX 底线
2026 年很多 Coding Agent 又回到了 CLI,不是因为 UI 不重要,而是因为 CLI 最容易接进脚本、CI 和仓库机器人。一个可用的 CLI Agent 至少要做到:
| 能力 | 为什么重要 |
|---|---|
| 可中断 | 用户发现方向错了,能 Ctrl+C 回到输入 |
| 可复现 | Solo 命令能复制给队友或放进 CI |
| stdout / stderr 分离 | 最终结果可被机器消费,过程日志不污染输出 |
| 工具透明 | 知道它读了什么、改了什么、跑了什么 |
| 退出码清晰 | CI 需要知道成功还是失败 |
这些不是花哨体验,是 Agent 从 demo 走向工具的分界线。
把三种模式接进同一个 main.py
def main():
    args = parse_args()
    if args.solo:
        run_solo(args.workdir, args.query, args.output)
    else:
run_repl(args.workdir)只多几行就把 Solo 和 REPL 同时支持了。流式输出和工具可视化跟"REPL/Solo"是正交的:两种入口都可以用。
一个真实的体验对比
跑同样一个任务:"读 main.py,加 /health 路由",给三种 Agent 用户的感受:
| 配置 | 用户感受 |
|---|---|
| REPL + 非流式 + 工具调用不可见 | "怎么半天没反应?卡了?"(实际在跑工具) |
| REPL + 流式 + 工具调用不可见 | "在打字了!但它是不是在乱回?怎么没改文件?" |
| REPL + 流式 + 工具调用可见 | "哦它在 read 文件了 → 在 edit 了 → 改完了。完美。" |
第三种才是现代 Coding Agent 的基本体验。今天 lab 至少要做到 REPL + 工具可视化;Solo 和更完整的 UI 在 examples/full-agent 里继续看。
小结
| 模式 | 一句话 |
|---|---|
| REPL | 长对话 / 交互体验 / 必须捕获 Ctrl+C |
| Solo | 一次性任务 / CI 和 NPC 友好 / stderr 装日志、stdout 装结果 |
| 流式输出 | stream=True + 拼 chunk / 让用户第一时间看到反应 |
| 工具可视化 | 打印工具名 + 参数 + 截短结果 / 三个 emoji 就够 |
理论结束。下面 lab:
- Part 1(80min):把 6 个零件整合成
my_coding_agent/,写完agent.py+repl.py+main.py - Part 2(70min):用你的 Agent 完成 3 个真实任务(读自己 / 补单测 / 找 bug)
- Part 3(15min):故障排查 + "我的 Agent 跟 Cursor 比差距在哪"